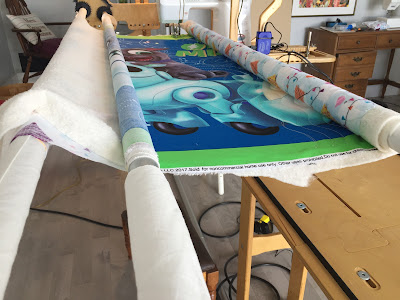
Bought this pre enjoyed Original Grace Quilting Frame in January of 2022. The original owner purchased it in December 2007 along with the Grace Stitch Regulator and wood templates.
Papa assembled the frame, helped make all the necessary adjustments and encouraged me as I delved into this foreign world of quilting on a frame with Oma's Janome Memory Craft 3500.
Step 1-Roll top of quilt onto middle rail with right side up and rolled under. Take pole off quilt frame and set aside.
Step 2- Roll backing of quilt onto back rail with right side down and rolled over.
Step 3 -Pin the backing and batting onto the front rail.
 |
| Pinned the backing and batting onto the front roller. |
Step 4 - Replace middle rail with quilt top and pin to front rail.
 |
| Pinned the quilt top on the front roller. |
 |
| This shows the direction of the rolls onto the two back rollers. |
 |
| Batting sits over the backing on the back roller. |
 |
| Direction of the cogs. |
 |
| Rolled snug and ready to go. |
 |
| Practice the wave from a template. |
 |
More wave from a template.
Hints from Quilting Community to help with Frame Quilting
1. Quilt from left to right and even top to bottom when using a domestic machine. Assuming this means from the free motion side of my frame. This is opposite to what I did so will try for more success.
2. I used Top Stitch # 90/14 for my 40 weight Glide. Saw a suggestion that said breaking thread could be as simple as the wrong needle size for the thread weight. 16 needle for 50 weight thread, 18 for 40 weight, and 20 for 30 weight.
Glide thread with thread over seems to work best.
Hint when using Minky fabric:
Minky fabric stretches as much as three inches when pulled across the grain line but is mostly stable along the lengthwise grain line. I learned that it's best to pin the stretchy edge to the rollers.
|


